There is only a bunch of fonts which we can consider generally Web-safe. By Web-safe I mean fonts that you can be moderately confident your users have. These include Arial and Times New Roman on Windows, or Helvetica on Mac. But what about the other fancy fonts that you can find on the Internet and freely use in your designs? For that we can use web fonts, which allow to import any custom CSS font to your project. The fun fact is that this technology has existed for over 20 years. It was proposed for CSS 2.1, but was dropped before the standard was finalized. Surprisingly, Internet Explorer implemented it in 1999. But it was the only browser that implemented it and the implementation was limited to EOT fonts only. Once the web fonts were included in CSS 3, font face CSS has became widely adopted and can now can be universally used in all browsers.
Youtube Video – How to Use Google Fonts in CSS – Font Face CSS
Demo and code (tl;dr)
See the Pen CSS Custom Font – How to Use Google Fonts in CSS by Artur Karczmarczyk (@arturkarczmarczyk) on CodePen.
How to Use CSS Font Face – Preparation
Let’s jump right into the code and start with our initial HTML, here’s the most important fragment:

We have here two articles, each with h2 and p, to test both approaches – using downloaded font and using Google Fonts API. We will use the class downloaded for the former and class google for the latter.
Let’s first apply some basic styling:

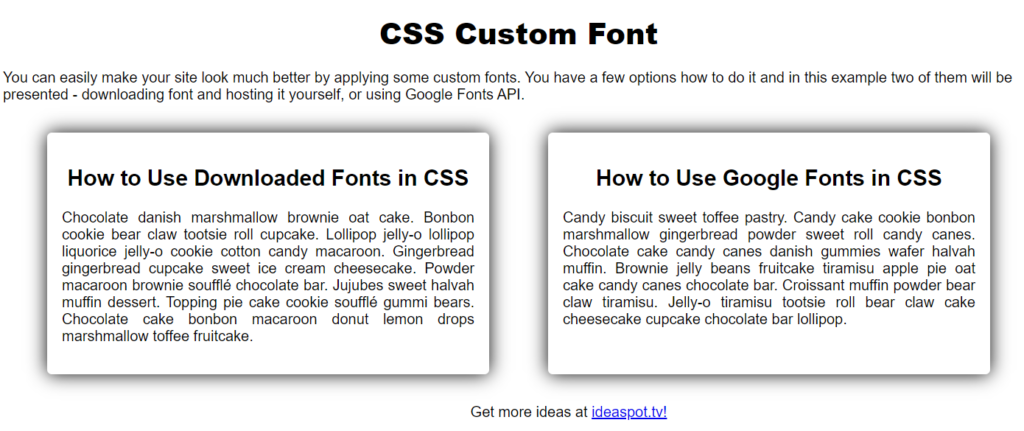
We will need some font downloaded to our project. You can use a free Google Fonts service for that, but you can also fetch fonts from other services, such as Adobe Fonts or Envato Elements (elements.envato.com/fonts), in which you can get over 20 thousands of commercial fonts for a fixed low monthly subscription fee. Once you find your font, download it to your project folder. Remember to read and adhere to the font licence!
CSS Font Face – Use Downloaded Custom Font in your HTML
In my demo project, I have downloaded a free Londrina Solid font:

Once the font files are in place, we can now use the @font-face CSS at-rule to import a custom font and then simply use it with font-family rule:

On the code excerpt you can see that the @font-face at-rule in its basic form accepts the following two properties:
font-family– the name that will later be used in CSS declaration blocks with the font-family propertysrc– a list of sources where to take the font files from. Possible options include:local– at first try to find the font on the user’s local device instead of fetching it from the hosted server;url– a link to the font file on a hosted server.
Then on the CSS declaration blocks you can easily use the font with font-family property, e.g. font-family: 'Londrina Solid', cursive;.
Here is the result:

Setting Font Weight and Style in CSS Font Face
As you can see on the figure above, both the heading and paragraph seems bold, which is not always what we want. Thankfully, @font-face at-rule allows also to specify the font-weight and font-style properties:
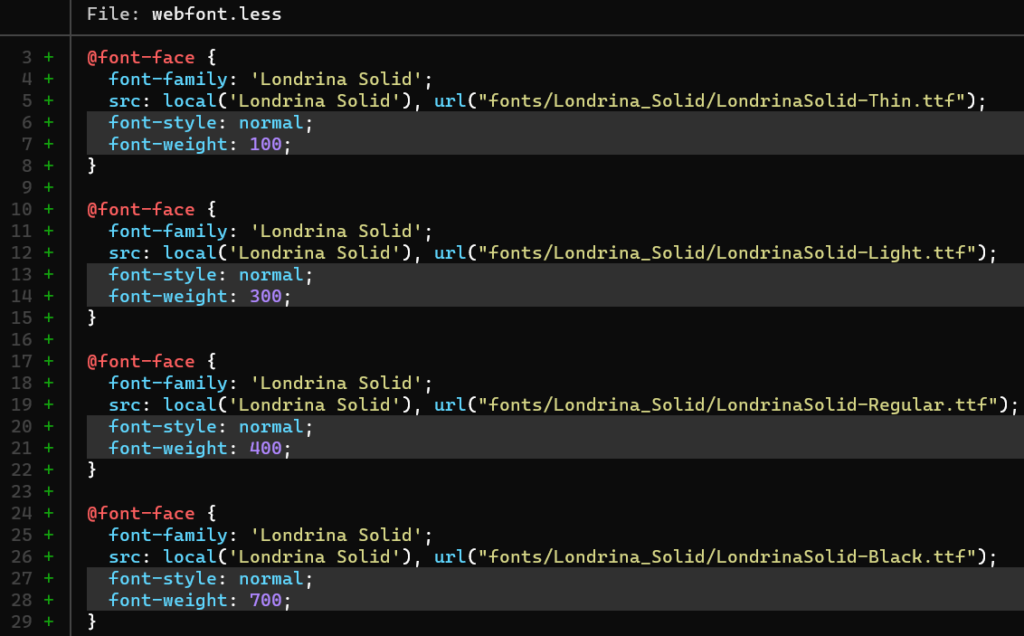
On the figure above you can see that the same Londrina Solid font is configured four times – always with font-style normal, however for various weights different font files will be loaded:
- LondrinaSolid-Thin.ttf for weight 100 (thin)
- LondrinaSolid-Light.ttf for weight 300 (light)
- LondrinaSolid-Regular for weight 400 (regular)
- LondrinaSolid-Black for weight 700 (bold)
Now we can specify various font weights for various elements on the page:

Here is the output, the paragraph in the box now has visibly lighter font:

How to use Google Fonts
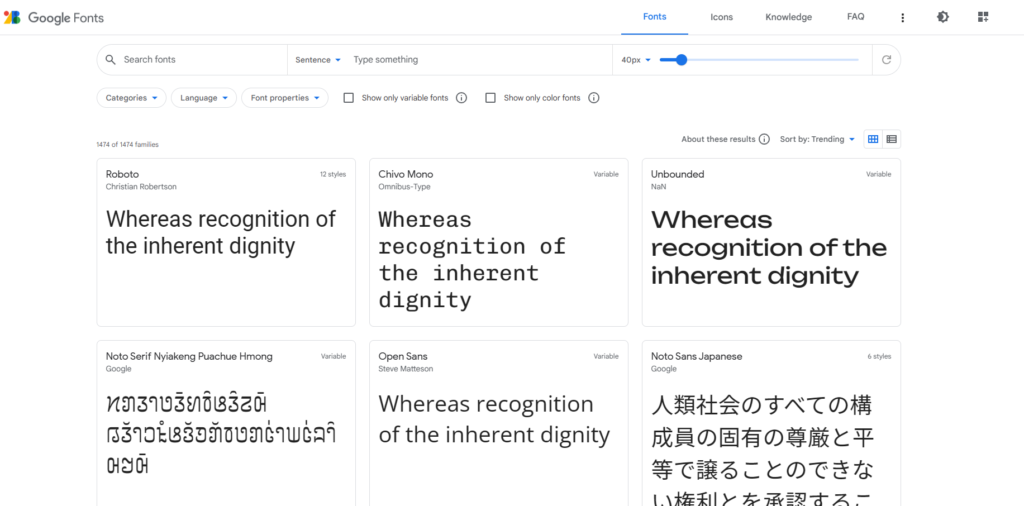
Another alternative to downloading font to your hosting is using the Google Fonts API. This allows to use any of the 1474 fonts available, without the need to host it yourself. Additionally, the more popular fonts are probably already cached at your users’ browsers, which speeds things up! Let’s start by searching for the best font for you at fonts.google.com:
My preferred font is Caveat:
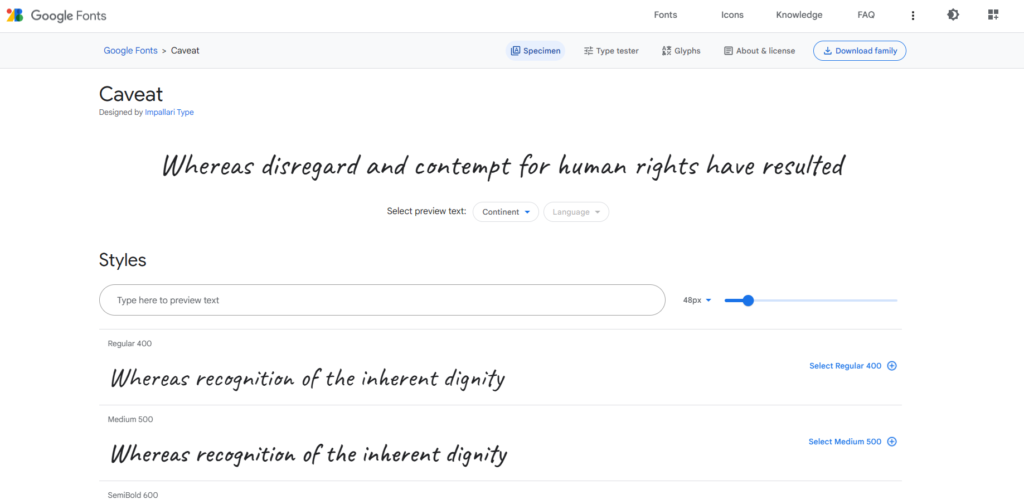
Choose the styles (font weights) that you need for your project and select them with “Select” buttons:

Once added, they will show on the panel on the right side of the screen:

Below the selected font family panel, you will see a set of codes to use when you want to embed the selected fonts as CSS custom fonts in your project. You have two options, either place a link tag in the <head> section of your HTML, or import to your stylesheet. I’m following the latter option:

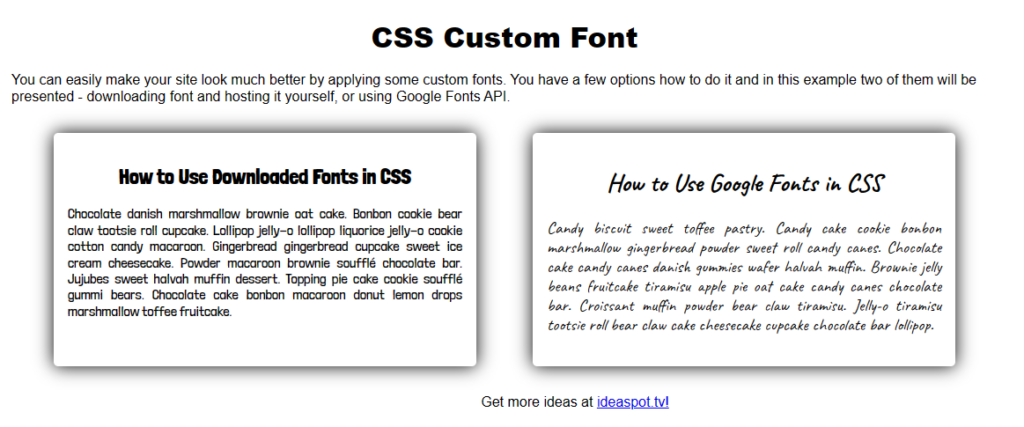
Once the @import line is added (line 2), the CSS custom font “Caveat” can be used in the standard font-family CSS property (line 85). And here is the final result:
Summary
In this web dev idea I showed you how you can use CSS font-face and Google Fonts to easily change the look of your site! I hope that this idea will let you make your sites more unique.
I encourage you to check out the Youtube video of using CSS Custom Font – How to use Google Fonts in CSS!
If you’d like to learn more on HTML, CSS and LESS in a structured, no-nonsense, hands-on manner, try my Udemy HTML & CSS 2022: Hands-on No-nonsense Guide!


Leave a Reply